
We drilled the middle hole of the flange collar to make it bigger so that the motor shaft can fit in it.
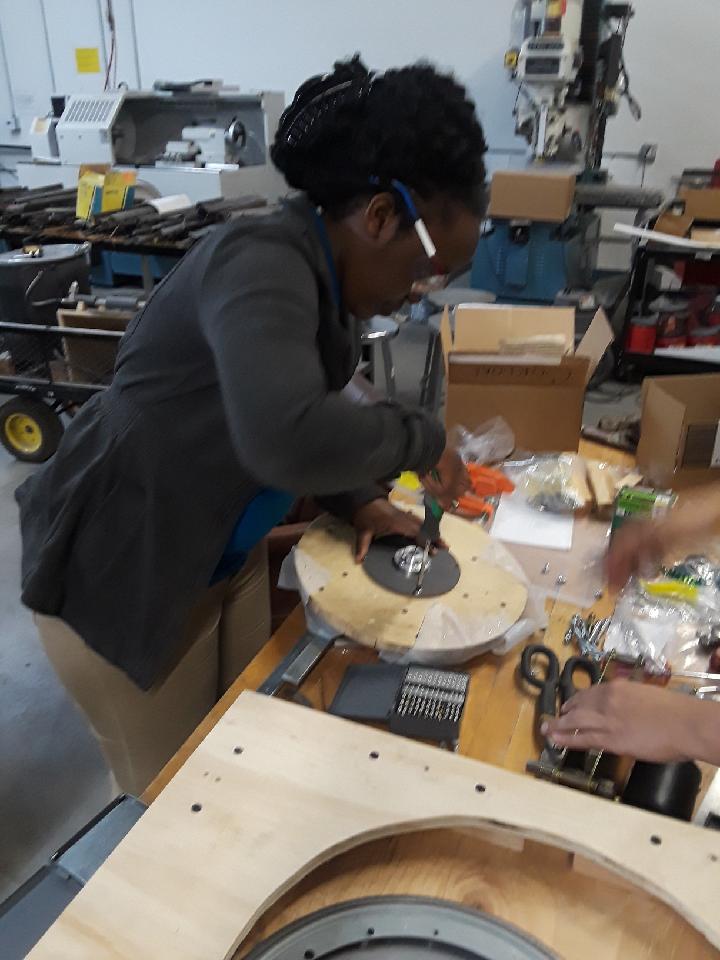
We drilled new side hole in the torque plate. Those holes were used to attach the flange collar to the torque plate. After, we put the flange collar, the torque plate and the disk together

We put the tape and the glue on roll on the parts where the teflon was going to be attached

After, the teflon was put on the top of disk

Next, the new holes were drilled in the base where the screws of the motor would be. A side cut was also made which would be used to tighten the flange collar.

The screws of the motor were changed. In the picture above, the screw on the left is the one for the motor, but since it was not tall enough, it was replaced by the one on the right

The motor with the new screws. The middle right screw was not able to be replaced because the arrangement of the motor parts was not convenient to us to do the replacement of it

After, the motor was attached to the base

The turntable was attached to the riser and after, they were put together with the base and its support

Next, the holes were drilled in the support cushion. Those holes were used to attach the support cushion to the design

The picture of the final design with all parts on it
No comments:
Post a Comment